Build a shop with Next.js and Stripe
This article is part of a series, find the rest of the parts here:Continuing with the Next.js & Stripe online shop series we will setup your Stripe account. Head to Stripe’s website and setup a new account (if you don’t already have one).
Register a Stripe account #

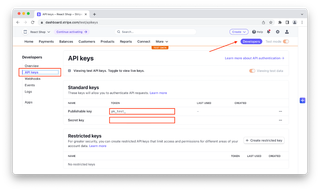
Once signed up go to the “Developer” page and select the “API keys” on the left hand side menu.
We need to now create an ENV file for our project so it can use these API keys to retrieve our products from Stripe. In the folder of your project create a new file called .env.local and add the following two variable names.
STRIPE_PUBLISHABLE_KEY=
STRIPE_SECRET_KEY=
Grab the keys from the API keys page and add them to the corresponding variables in the .env.local file.
Please be aware that these keys are for testing and you will need to generate new keys for when you go live (production).
Create products for our online shop #
You can manage all the content for your online shop through the Stripe dashboard. This has a lot of benefits. You don’t require a CMS to manage your products, you can use different currencies/pricing for different regions and you can manage your product images all in the same interface.
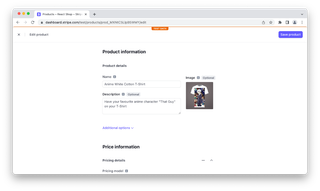
From the menu, access the “Products” page then click the purple “Add Product” button.

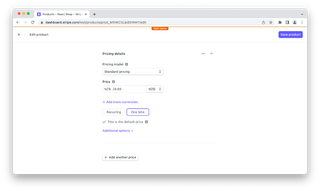
Add some details for your product, add a price and upload an image. Make sure to select “One Time” for the product price.

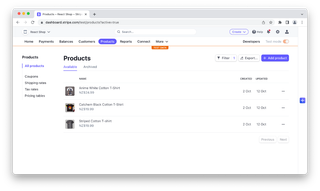
Now repeat until you have finished creating all the new products you wish to create. You should end up with a product list similar to this.

Congrats you have now successfully added your shop products to Stripe. Stay tuned for the next update where we will display your shop products in your shop.